How do you tie-dye a T-shirt?
- Choose the right fabric
- Prepare the tools and dye
- Soak the T-shirt
- Make your preferred pattern
- Apply the dye
- Look at the results
Tie-dye T-shirts are one of the popular fashion trends that will often come back in style over the years. These shirts might seem like a fad, but these shirts have been worn by men and women for a long time. These colorful, vibrant, and unique tops are great statement pieces that you can add to your wardrobe. If you’re wondering how to tie-dye a T-shirt, you found the right place!
The good news is that you don’t have to buy pre-made tie-dye shirts because it’s a fun arts and crafts activity you can do at home! Repurpose your old T-shirts, or buy new plain shirts in the Philippines so you can make some for your family and friends. To start making these statement shirts, follow the instructions below!
Choose The Right Fabric
The first step is to choose the right base for your tie-dye shirt. To achieve the best results, it’s recommended to use 100% cotton or 50/50 cotton-polyester shirts. Other fabrics, such as a 100% polyester garment, won’t dye well.
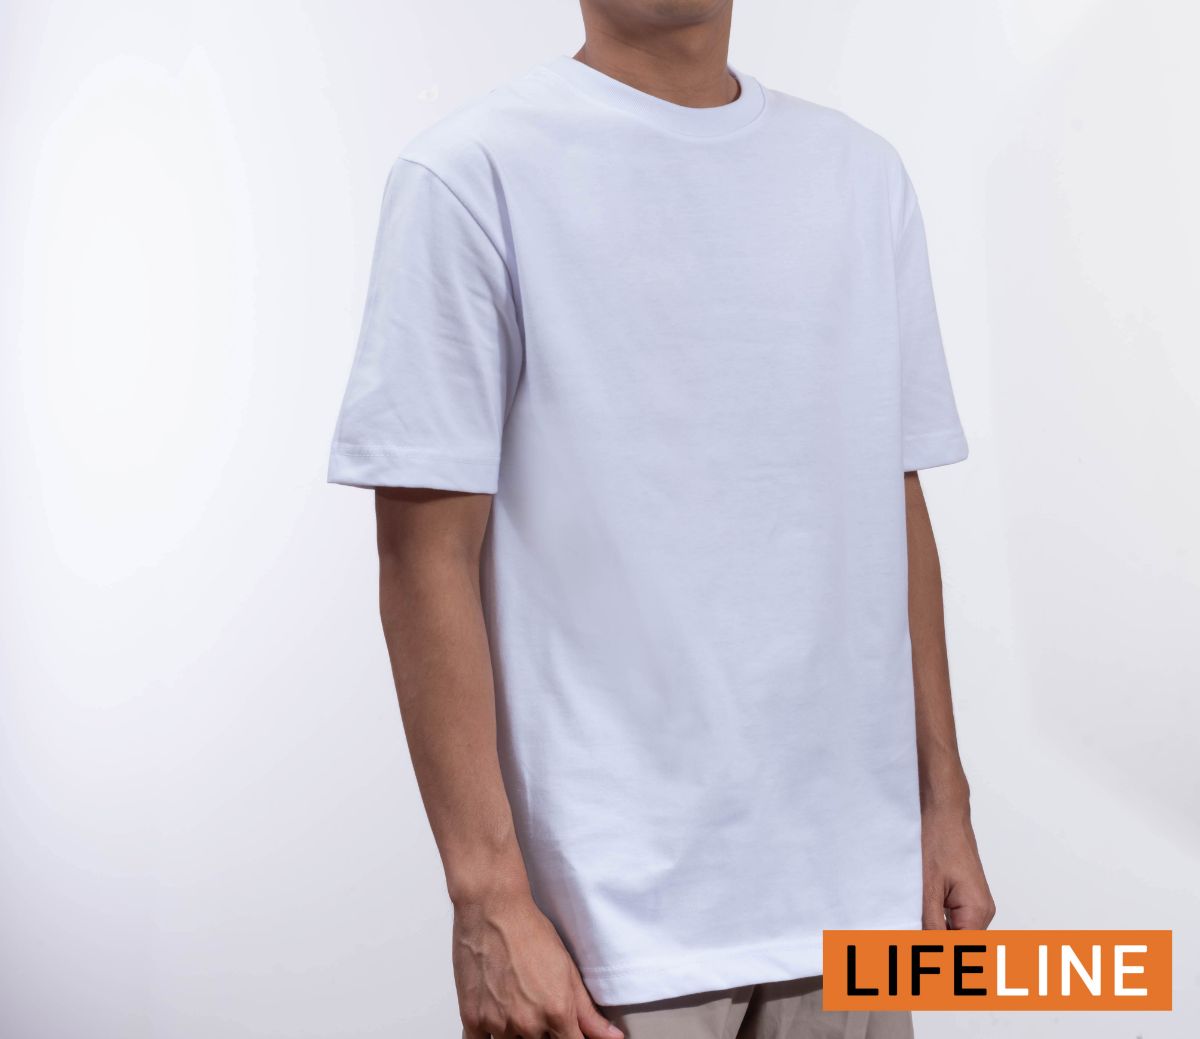
You can take a look in your closet and use old shirts that you don’t wear anymore. But if you don’t have them, you can check out Lifeline’s plain white shirts, which are made of poly cotton material. These are only around a hundred pesos!
Prepare The Tools And Dye
The next step is to gather the things you will use to make the tie-dye shirt. There are tie-dye kits available for sale, and these usually come with all the things you need and instructions. If you’re using a tie-dye kit, you will already get the dye in squeeze bottles. The usual instruction is to add warm water. Other than these, you can also use fabric dyes too.
Prepare some elastic bands or string, rubber gloves, squeeze bottles for the dye, a tub for soaking shirts, and large plastic bags. If you’re using powdered dyes, you need to follow the manufacturer’s instructions for measurements when mixing with water. You also need to pour the dye mixtures into clean bottles.
Soak The T-shirt
The next step is to prepare the T-shirt for dye application. You should immerse the shirt in some lukewarm water, then wring out the excess. After that, lay it flat on your workspace. While it’s not a requirement to wet the shirt before dyeing, you might have difficulty with spreading the color on a piece of dry fabric.
If you have soda ash, it could also help with better color absorption. Some tie-dye kits will have this item, but you can also buy them at craft stores.
Make Your Preferred Pattern
Once you’re ready to start dyeing, the next thing to do is to plan the design. There are plenty of pattern ideas you can use, and most will require the use of elastic bands or string to hold the pattern in place.
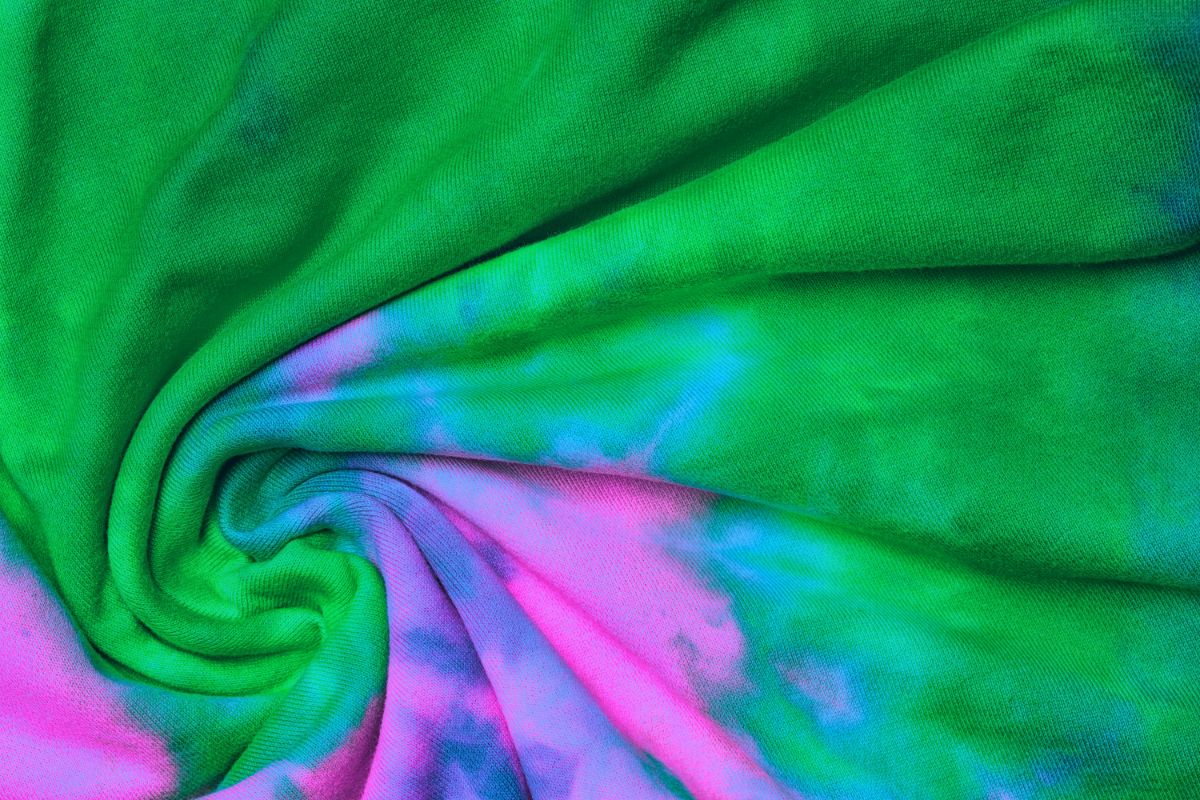
One easy method is to use a spiral pattern. First, make sure that the shirt is laid flat on your workspace. Twist the center of the shirt into a spiral shape, until you’ve gathered all the fabric into one tight spiral ball.
Using your string or elastic bands, tie the fabric into six sections. Think of it like you’re making 6 slices of pizza. Wrap the string or elastic bands around the shirt to hold it in place. The strings should overlap at one point in the middle.
Apply The Dye
After your pattern is secured, the most important step is next, which is applying the dye! Make sure that your workspace is covered with plastic, so you don’t stain it. It’s also best to wear old clothes and shoes, too. Other than that, it’s recommended to do this step outdoors, so you don’t stain the floor, walls, ceiling, and surrounding area. Wear gloves before applying the dye.
Most tie-dye shirts will use three colors, but feel free to add more if you want. Squirt the dye from the bottle onto the shirt, only applying one color at a time. Use lighter colors first before layering dark ones.
When you’re satisfied with the application, you need to let the shirt dry while it’s still tied up. You can place it in a plastic bag and let it sit between 12-24 hours. The earlier you take it out, the lighter the result will be.
Look At The Results
After hours of waiting, it’s time to unwrap the shirt! While wearing gloves, take off the string or rubber bands. Then rinse the shirt in cold water, until the water is clear. After that, you can wash the shirt in the washing machine using cold water, but make sure that there is no other clothing inside the appliance.
After that’s done, you can hang the shirt to dry and look at the results! Once the shirt has dried, it’s now ready for you to wear!
Key Takeaway
Now that you know how to tie-dye a T-shirt, you can play with different patterns and colors. Tie-dye shirts are a great way to personalize your clothes, and are a fun arts and crafts activity that you can do alone or with friends and kids!
If you’re looking for affordable but high-quality plain shirts, you can find them here at Lifeline. We sell plain shirts in retail and also have the capacity to supply in bulk if you need shirts for an event or your business. Send us a message here if you would like to know more.