What designs can you make with iron-on patches?
- Add a patch on the right breast pocket area.
- Make a collar out of sew-on patches.
- Use repair patches to cover up irreparable stains or holes.
- Make a statement with patches in the center of your shirt.
- Add patches on the sleeves.
Custom embroidered patches are an easy way to spice up a t-shirt. They allow people to make the t-shirt their own by adding things that pique their interest. That’s why they have been available for a while.
Although you might not think to use them frequently, patches can quickly improve your t-shirt. If you follow the most recent trends, you might anticipate buying a shirt with pre-embroidered patches on the fabric. However, if you want to be more imaginative and have fun, you can design your own iron-on patches for t-shirts.
Here are some of the ways you can add patches to t-shirts:
Add a patch on the right breast pocket area

Most shirts would have their patches or logos on the left side breast pocket area, but the right side is also a great idea if you want to think outside of the box. It does benefit from drawing attention due to its odd location. Choosing a logo that is a basic symbol would give your shirt a minimalist look, which is a trendy style nowadays.
Make a collar out of sew-on patches
Think of something similar to a girl scout or military uniform where patches and badges are placed on the collar. Putting your iron-on patches on the collar of your shirt is also a good idea, making the patch more eye-catchy and centered. Now you can wear your chosen design like a badge of honor!
Use repair patches to cover up irreparable stains or holes
People have been using sew-on patches to patch up clothing holes for a long time. It’s a fun and creative hack to fix any irreparable damage to your shirts. But it can be a lot easier now because iron-on patches are everywhere on the market, and you don’t have to worry whether you know how to sew or not. Just find a design you like and you can cover it up, without making it obvious that you’re covering something! Best of all, you can now enjoy your shirt like it’s brand new!
Don’t know how to put on iron-on patches on your own? Don’t worry; we have you covered if you’ll continue reading!
Make a statement with patches in the center of your shirt
Where else is the best place for your patch but in the center? Be proud of your own choice of design by aligning it on the center of your shirt! You may choose a big patch that would fill half of the shirt or you can choose many designs and insert them in the center. This is the beauty of iron-on patches. You can put as many designs as you want anywhere you like!
Add patches on the sleeves
Put your chosen patch on your shirt sleeve for a more understated look. Although placing your patches here has not typically been a widespread choice, it is quickly growing in popularity. You can deliver your message in a more covert manner from this place.
How to apply iron-on patches?
As promised, we have some bonuses for you. Before you get to know the procedure, it’s essential to be aware that some shirt fabrics, such as nylon, rayon, leather, and waterproof materials, don’t perform well with iron-on patches. However, patches do a wonderful job with cotton and polyester.
Here are the steps to ironing on patches:
- Preheat your iron. For the patch to properly attach to the item, you must use the highest heat setting.
- Make a design plan. Place the patch where you want it to go on your item of clothing and spread it out on the ironing board.
- Cover the patch’s front with a piece of cloth. The fabric of your clothing will be shielded from the heat by this, acting as a barrier between your patch and the iron. You can use a pressing cloth or pillowcase for this.
- Iron that patch on. Place the iron over the patch and cloth for 30 seconds and hold it there. If your patch specifies how long to hold the iron on it, follow those instructions instead.
- Repeat steps 3 and 4 on the other side. Once the patch is attached to your garment, turn it inside out and iron it flat again. Repeat step 4 with your pressing cloth or pillowcase over the backside of the patch.
- Let it cool, and your shirt is ready!
Key Takeaway
Now you can enjoy your iron-on patches for t-shirt design ideas and spice up your favorite basic shirt. These patch ideas can represent your hobbies, a brand, or something else that represents you!
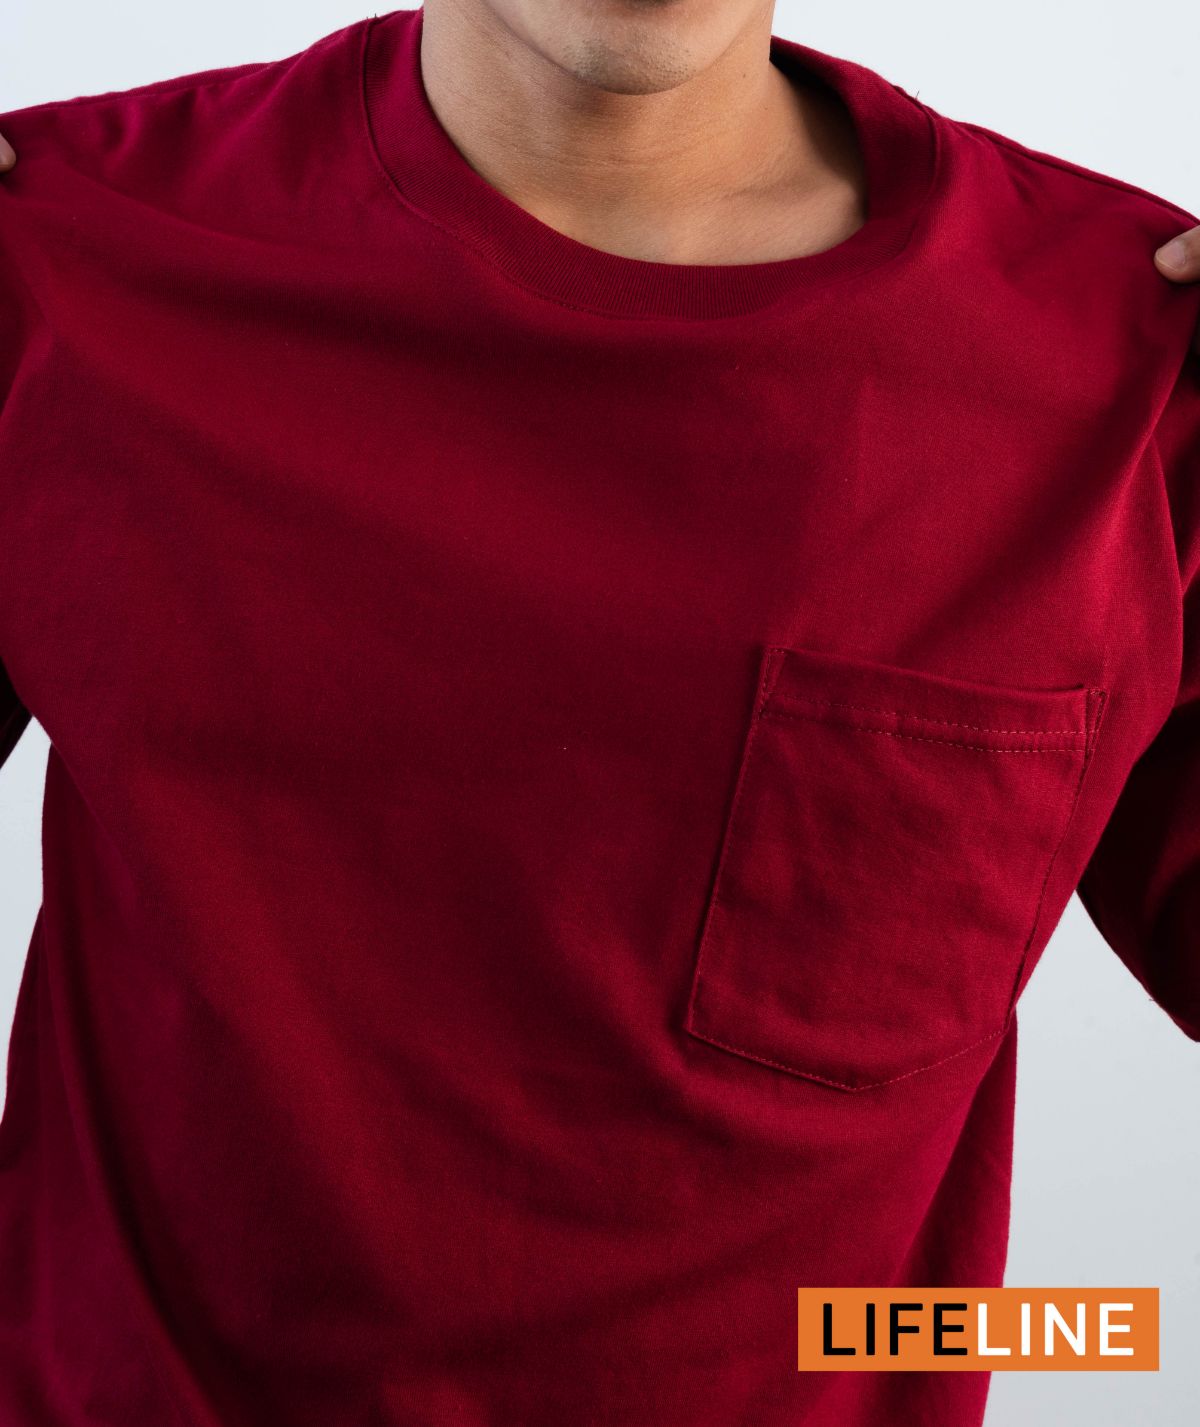
Lifeline Shirt uses a blend of cotton and polyester in our shirts to provide both durability and comfort that is perfect for your iron-on patches. You may visit our official Shopee page for high-quality plain shirts in the Philippines!